
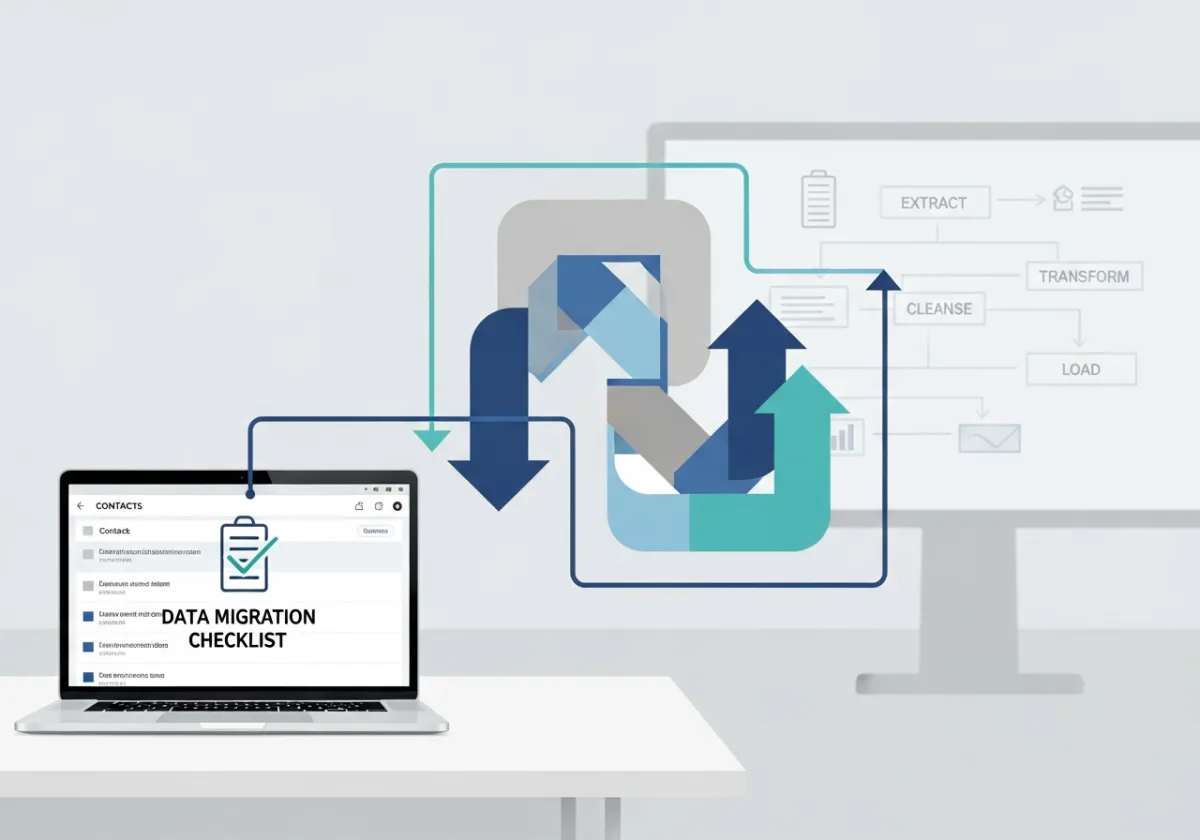
CRM Data Migration: A Step-by-Step Checklist | Sell Sm@rter SalesHub
Your Contact Data Is Worth More Than You Are Treating It
Every name, phone number, and conversation history sitting in your spreadsheets or your old CRM represents real money you spent acquiring that lead. Paid ads, referral effort, hours of networking. When you migrate sloppily, you do not just lose rows in a spreadsheet. You lose the capital that created those rows.
A clean CRM data migration is not a technical formality. It is an act of protecting your most valuable business asset: your relationship data. Done right, it sets the foundation for a pipeline that actually earns its keep. Done wrong, it seeds your new system with duplicate contacts, broken tags, and missing follow-up history that will haunt you for months.
Here is the exact process to do it right.
Before You Touch Anything: The Pre-Migration Audit
Do not export a single file until you have answered these questions:
- Where does your data currently live? Spreadsheets, an old CRM, email inboxes, a notes app? List every source.
- How clean is the data? Scan for duplicate entries, missing phone numbers, outdated email addresses, and inconsistent naming formats.
- What data fields does your new CRM support? Map your existing columns (First Name, Company, Lead Stage) to the fields your new system uses before you import anything.
Skipping this step is the number one reason migrations fail. You carry the chaos from one system directly into the next.
The CRM Data Migration Checklist
Step 1: Export and Consolidate
- Export all contact lists to CSV format from every source.
- Merge them into a single master spreadsheet.
- Remove duplicate rows. Use a tool like Google Sheets or Excel to flag matches by email address.
Step 2: Standardize Your Data
- Enforce consistent formatting: capitalize names, standardize phone number formats, and verify country codes.
- Assign lead status or pipeline stage to every contact. Do not import contacts without a status label. Untagged contacts are invisible contacts.
- Add a source tag (for example: Facebook Ad, Referral, Cold Outreach) so you know where each lead came from.
Step 3: Map Fields Before Importing Contacts to Your CRM
- Open your new CRM and review its available contact fields.
- Create a field mapping document: Column A in your spreadsheet maps to which field in the CRM.
- Create any custom fields you need before you run the import. Do not improvise mid-upload.
Step 4: Run a Test Import
- Import a sample of 10 to 20 contacts first.
- Verify that names, emails, tags, and pipeline stages populated correctly.
- Fix any field mismatches before running the full import.
Step 5: Execute the Full Import and Audit
- Run the complete import.
- Spot-check 5 percent of your records at random.
- Confirm that automated sequences, tags, and pipeline stages are triggering correctly on new contacts.
After the Migration: Activate Your Pipeline
A successful crm setup process does not stop at imported data. Your contacts need to flow into active sequences. Assign follow-up tasks. Set pipeline stages. Turn on your automation rules so no lead sits in silence for more than 24 hours.
If you are setting up your system for the first time and want a broader foundation to build on, read The Complete Guide to Sales CRM Software for Small Businesses before you begin your migration. It will save you from making structural decisions you will have to undo later.
SalesHub is built to make this entire process straightforward. Your contacts, pipeline stages, automations, and follow-up sequences all live in one workspace. No duct tape. No second tool. Just a clean system that works the moment the data lands.
Your leads are already paid for. It is time to make sure they are actually working for you.